Are you looking to transform your man cave into the ultimate hangout spot? A DIY bar area might be just what you need. In this step-by-step guide, we’ll walk you through how to create your dream bar area while incorporating essential SEO keywords to ensure your man cave project gets the attention it deserves.
Table of Contents
Introduction
A well-designed bar area can become the focal point of your man cave, providing a space for entertainment, relaxation, and socializing with friends and family. Whether you’re a seasoned DIY enthusiast or just getting started, this article will guide you through the process of building your own custom bar area in your man cave.
Planning Your DIY Bar Area
1. Choose the Location
Before diving into the project, carefully select the ideal location for your bar area within your man cave. Consider factors like available space, proximity to utilities (such as water and electricity), and how it fits into the overall layout of your space.
2. Design Your Bar
Create a detailed design plan for your bar area, taking into account the style and functionality you want to achieve. Decide on the bar’s size, shape, and materials. Do you prefer a rustic wooden bar or a sleek modern design?
Building Your DIY Bar
3. Gather Materials and Tools
Compile a list of materials and tools you’ll need for your DIY bar project. Common materials include wood, plywood, bar rails, bar top epoxy, screws, and bar stools. Ensure you have all the necessary tools, such as a saw, drill, level, and measuring tape.
4. Construct the Bar Frame
Start by building the frame for your bar. Measure and cut the wood according to your design plan, then assemble the frame using screws and a level to ensure it’s sturdy and level.
5. Install Bar Top and Front
Attach the bar top material (e.g., plywood) and the front panel to the frame. Use the appropriate adhesives and screws to secure them in place. Sand any rough edges for a smooth finish.
6. Add Bar Rail and Foot Rail
Enhance the aesthetics and comfort of your bar by adding a bar rail and foot rail. These features not only look great but also provide a comfortable place for guests to rest their feet.
7. Finish and Seal
To protect your bar and give it a polished look, apply a sealant or bar top epoxy. This step not only adds durability but also enhances the natural beauty of the wood.
Personalize Your DIY Bar Area
8. Choose Bar Stools
Select comfortable and stylish bar stools that complement your bar’s design. Consider factors like height, materials, and cushioning for added comfort.
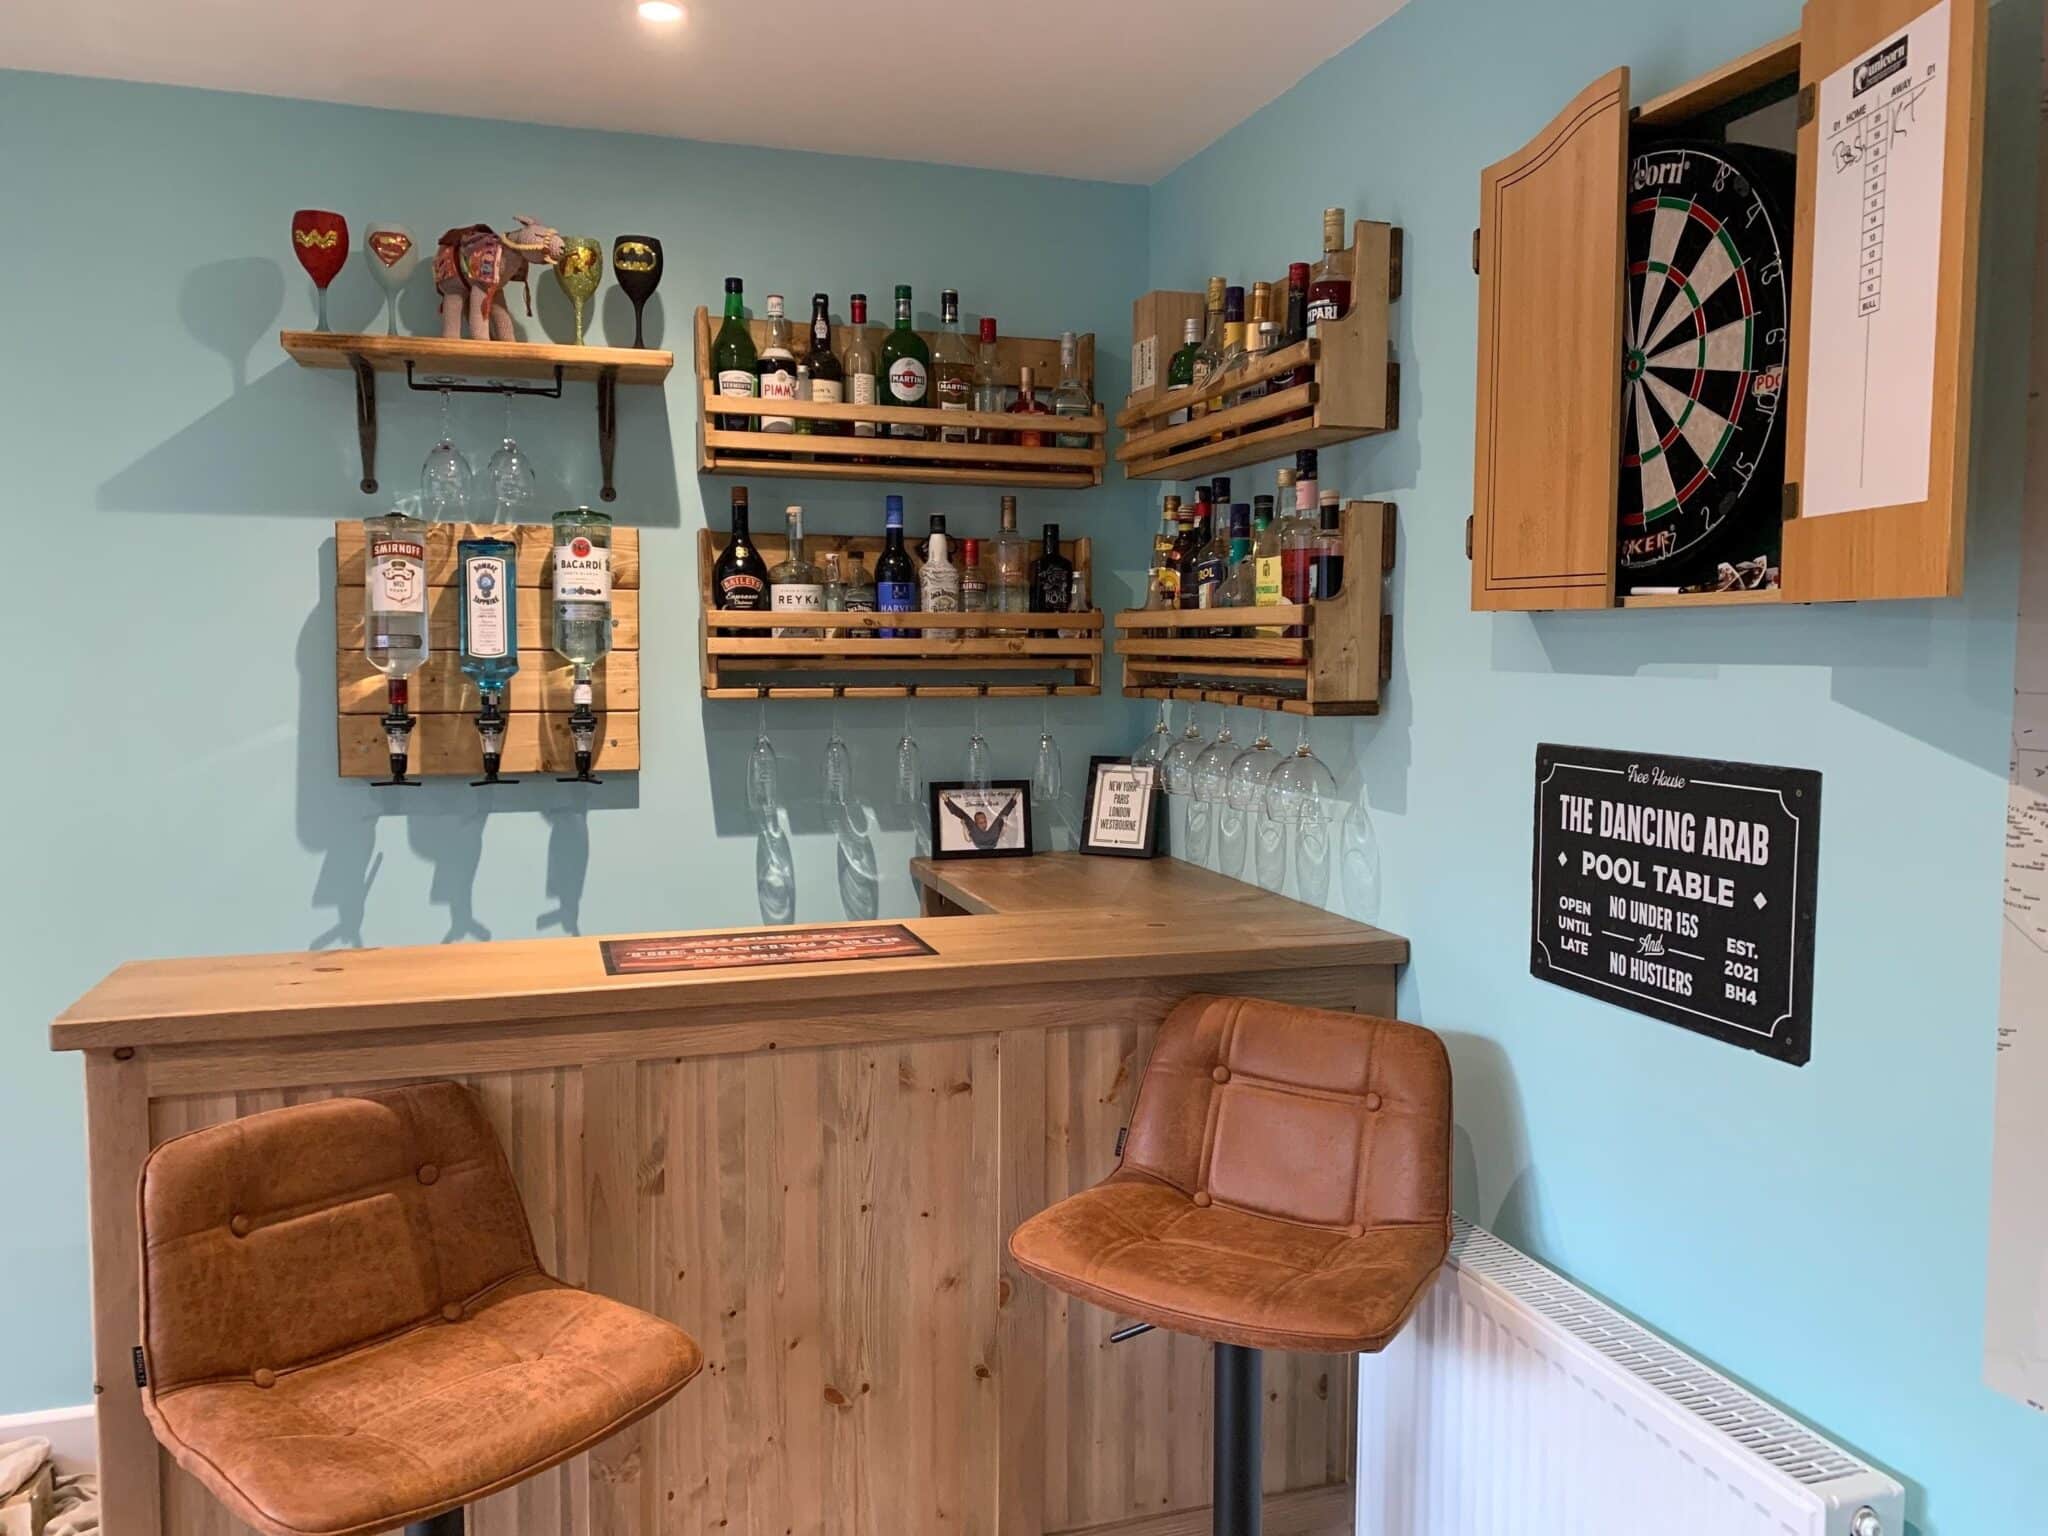
9. Decorate and Stock Your Bar
Add a personal touch to your bar area by decorating with items like bar signs, mirrors, and glassware. Stock your bar with your favorite beverages and cocktail essentials.
Get inspired
Inspiring DIY bar videos
Inspiring DIY bar links
https://www.blackanddecker.com/blogs/blog/how-to-build-a-diy-basement-bar-with-plans
https://blog.strongtie.com/diy-build-durable-home-bar/
Conclusion
By following these steps and incorporating the right design elements, you can create a stunning DIY bar area in your man cave that reflects your style and serves as the ultimate entertainment hub. With the proper planning and execution, your man cave bar will undoubtedly become the envy of your friends and a relaxing retreat for you.
Don’t forget to share your DIY man cave bar project on social media and inspire others to embark on their own home improvement journey. Happy building!