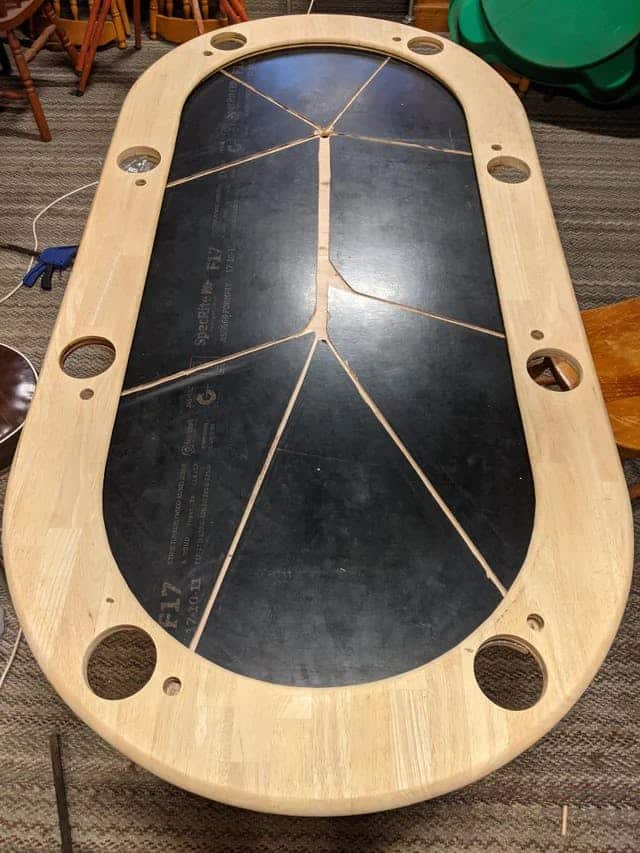
Building your own poker table can be a fun project for those who enjoy woodworking and DIY projects. Here are some basic steps to build a poker table. We’ve also included some videos and links to more detailed projects at the bottom of this page.
Required materials to build a poker table
- Plywood or MDF board
- Foam padding
- Vinyl fabric
- Felt fabric
- Wood glue
- Screws
- Staple gun
- Jigsaw
- Drill
- Screwdriver
- Measuring tape
- Pencil
- Scissors
Instructions to build a poker table
Table base
Decide on the size of your poker table. A standard size is 8 feet long by 4 feet wide, but you can adjust the size to fit your needs.
Cut a piece of plywood or MDF board to the size you want. Sand the edges to make them smooth.
Foam
Cut foam padding to fit the size of your table. You can use 1-2 inches of foam padding, depending on your preference.
Attach the foam padding to the plywood using wood glue. Make sure the foam padding is evenly spread and there are no bumps or wrinkles.
Cut vinyl fabric to cover the foam padding and plywood. Leave a few inches of extra fabric on each side to wrap around the table.
Stretch the vinyl fabric over the foam padding and plywood, and staple it to the underside of the table. Make sure the fabric is smooth and there are no wrinkles or bubbles.
Felt fabric
Cut felt fabric to fit the size of the table. Felt fabric is commonly used for the playing surface of a poker table.
Place the felt fabric on top of the vinyl fabric, and center it on the table.
Staple the felt fabric to the plywood, starting at the center of the table and working your way out. Make sure the felt fabric is smooth and there are no bumps or wrinkles.
Cut the excess fabric from the corners, and fold the fabric neatly under the table.
Table legs
Attach legs to the table using screws and a drill. Make sure the legs are evenly spaced and secure.
Sand the edges of the table, and apply a finish or stain if desired.
Add electronics (optional)
Optionally, you can also add various gadgets and devices to a poker table to enhance the playing experience. Here are some examples:
Automated card shufflers
These devices automatically shuffle the deck of cards and can save time during gameplay. They come in various sizes and can be integrated into the table or used as a standalone device.
LED lighting
LED lights can be added to the table to provide better visibility and create a more immersive playing experience. They can be placed under the table or around the edges.
USB charging ports
These can be added to the table to allow players to charge their phones or other devices while they play.
Audio systems
Speakers can be installed in the table to play background music or sound effects during gameplay.
Touchscreen displays
Touchscreen displays can be installed into the table to display player stats, game information, and other useful data.
RFID technology
RFID (Radio Frequency Identification) chips can be embedded in the playing cards to track the progress of the game and ensure fair play.
Wireless charging
Wireless charging pads can be built into the table to allow players to charge their devices without the need for cables.
All of these electronics can be integrated into the design of the poker table and can be controlled via a central control panel or remote. They can make the game more enjoyable, and efficient, and add a touch of luxury to the playing experience. However, it’s important to keep in mind that these features can be expensive and may not be necessary for every game.
Other DIY poker table projects
This DIY Poker Table uses RGB LEDs to dictate the flow of the game
Ready for the advanced version? Check out this video that includes a shuffler, cup holders, lights, etc.
With these basic steps, you can build a poker table that is both functional and stylish.
And don’t forget the poker set of course!
Enjoy!


